1. Basic Setup
In the Basic Setup step, you define the core identity of your inbound agent.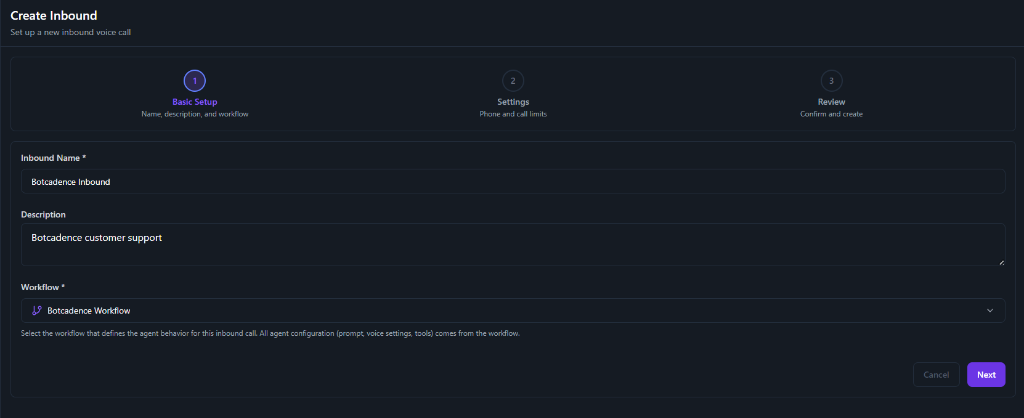
Fields
Fields marked with an asterisk (*) are required.
- Inbound Name: Enter a unique name to identify your inbound agent (e.g., “Customer Support Line”).
- Description: Add a brief description of the agent’s purpose.
- Workflow: Select the workflow that defines the agent behavior for this inbound call. All agent configuration (prompt, voice settings, tools) comes from the workflow.
2. Settings
Configure the phone number and call limits for your inbound campaign.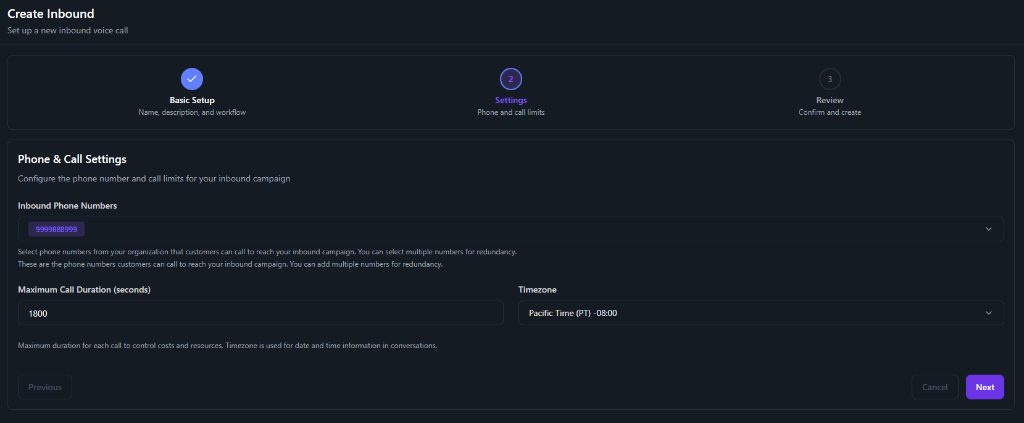
Phone & Call Settings
- Inbound Phone Numbers: Select phone numbers from your organization that customers can call to reach your inbound campaign. You can select multiple numbers for redundancy.
- Maximum Call Duration (seconds): The maximum duration for each call to control costs and resources.
- Timezone: Select the timezone used for date and time information in conversations.