Overview
A Workflow consists of nodes and paths. Each node can represent a specific state or sub-agent with its own specialized instructions. This is particularly useful for handling complex scenarios like:- verification flows (collecting ID, verifying date of birth),
- support triage (identifying the issue catalog),
- appointment scheduling.
Create a Workflow
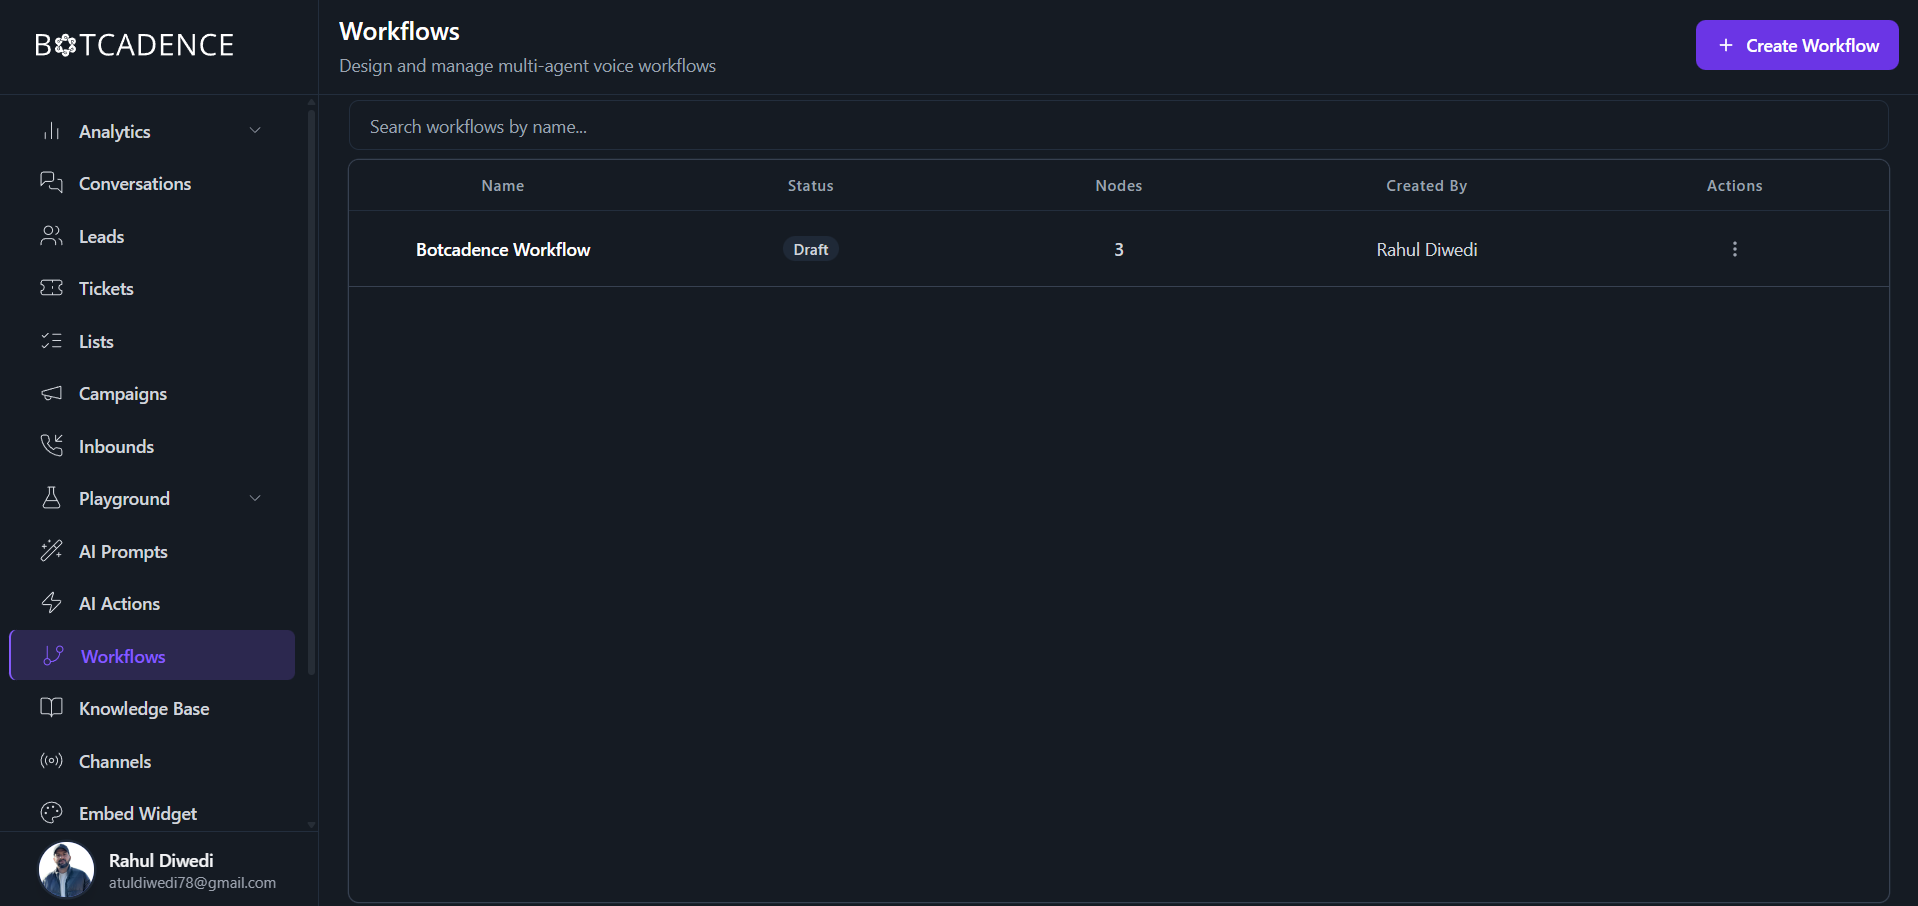
To create a new workflow:- Navigate to the Workflows tab in the sidebar.
- Click the + Create Workflow button in the top right corner.
- Your new workflow will appear in the list with a Draft status.
Configure a Workflow
Click on a workflow from the list to open the Visual Editor. The editor is divided into the Canvas (left) and the Configuration Panel (right).Canvas
The canvas allows you to visualize the flow of the conversation.- Start Node: The entry point of the workflow.
- New Path: Define different branches the conversation can take.
- Nodes: Specific steps in the workflow, such as calling a sub-agent or performing an action.
- End Node: Where the workflow concludes.
Configuration Panel
The configuration panel allows you to customize the behavior of the selected agent or node. It contains three main tabs:1. General
Set the identity and core instructions for the sub-agent.- Agent Name: A descriptive name for the sub-agent.
- Prompt / Instructions: The system prompt that guides the agent’s behavior for this specific step. Use this to define the agent’s goal and constraints for this part of the conversation.
2. Voice
Configure the speech and intelligence settings.- Conversation Model (LLM): Select the AI model (e.g., GPT-4o Mini) and adjust parameters like Temperature (Creative vs. Deterministic).
- Speech Recognition (STT): Choose the provider (e.g., Deepgram) and the specific model for transcribing user audio.